Poached Pears

“It’s kind of ethereal… a pear of the Gods” -Pieter

I never knew the humble pear could make me this giddy. Cozied up in a bath of mulled Merlot and doused in raspberries and cream, these have been upgraded from a favourite childhood dessert to a glam little plate of sweet, velvety magic. Can also be made with white wine, apple juice, cranberry juice, or anything really. It’s something I’d imagine fairies eat for breakfast.


Ingredients

  • 6 firm pears

  • 1 bottle cheap red wine

  • 10 cloves

  • 10 allspice berries

  • 2 star anise

  • 1 cinnamon stick

  • 1/4 cup granulated sugar

  • 1/2 red beet, sliced

  • 1 pint fresh or frozen raspberries

  • 1/2 cup whipping cream

  • handful pistachios, chopped


Directions

Peel your pears (leave stems on) and level off bottoms by slicing across horizontally so that they can stand upright.

Place pears in a big pot. Add whole spices, cinnamon stick, sugar, entire bottle of red wine and beet slices (these will intensify the colour of the final poached product!)

Cover and cook over medium-low heat for at least 1 hour, or until deepened in colour and soft to the touch. You can’t really overcook these as long as they are on low heat. The only risk is that they will become more delicious.

While pears are poaching, cook raspberries in a small pot over low heat until they have fully broken down.

Using the back of a spoon, push cooked raspberries through a sieve into a medium bowl until only the seeds remain. In the bowl, you will be left with a smooth raspberry sauce.

Whisk cream until lightly whipped, for ultimate dollop-ing.

Remove pears from pot, placing them upright on a plate. Strain off spices and beet slices, pour liquid back into pot, and keep covered until serving.

To serve, place a pear upright on a small plate.

Add a dollop of whipped cream, drizzle on a couple spoonfuls of raspberry sauce, and sprinkle with chopped pistachios.

Peach Upside Down Cake

I’d been talking about experimenting with peaches for weeks and on Monday I decided it was time to try my luck with this upside down situation. Using a cast-iron skillet and coconut-palm sugar, I had visions of burnt peaches sticking to the bottom of the pan. But the result was a delightfully moist, summer-y, squish-in-your-mouth slice with crispy fried buttery almondy edges. Next time I will try this same recipe with apricots, pears or plums.

IMG_4943.jpg

Ingredients

  • 4 ripe peaches

  • 3 tbsp butter (for pan)

  • 1/2 cup coconut palm sugar (only because it’s the only thing I found in the cupboard, but brown sugar will do)

  • 1 1/4 cups all purpose flour

  • 1/2 cup almond flour

  • 1 1/2 tsp baking powder

  • 1/2 tsp baking soda

  • 1/2 tsp salt

  • 1/2 cup unsalted butter, room temperature

  • 3/4 white granulated sugar

  • 2 eggs

  • 1/2 tsp vanilla

  • 3/4 buttermilk

Instructions

IMG_4786.jpg

Set oven to 350 degrees Fahrenheit.

Smear a generous coating of butter onto bottom and sides of any 9-inch round baking vessel you have lying around— a regular cake pan will do, and so will a cast-iron pan.

Cover bottom of pan with coconut palm (or brown) sugar.

Cut peaches into 1/8 slices. I recommend doing this by slicing peach in half then twisting each half in opposite directions to dislodge the pit.

IMG_4798.jpg
IMG_4802.jpg

Arrange slices in desired circular pattern on bottom of pan, starting from the outside and moving inwards.

IMG_4812.jpg

In a small bowl, combine all purpose flour, almond flour, baking soda, baking powder and salt.

In a separate medium bowl, whisk together butter and granulated sugar for a few minutes until fluffy and light in colour.

Whisk in eggs one by one. The mixture should be quite gloopy and smooth.

IMG_4827.jpg
IMG_4831.jpg

Add dry mixture and buttermilk to butter-egg mixture bit by bit, whisking between additions, until a thick batter comes together (the first thing that came to mind for me when observing the ideal consistency and colour was hummus, but with some elasticity).

IMG_4857.jpg
IMG_4862.jpg

Pour the batter on top of the peaches. Flatten top with a spatula.

IMG_4875.jpg
IMG_4886.jpg

Bake in preheated oven for 45 minutes, or until knife comes out clean. When ready, the top should look caramel-coloured and slightly crispy, and there may be some darker browned bubbles.

IMG_4897.jpg

Run a knife around the edges of the pan and let rest for about 5 minutes.

Once slightly cooled but still hot, grab a plate and place it upside down on top of the pan. Using oven mitts, clamp both sides of plate and pan together firmly and swiftly flip it all upside down. Now, the pan should be on top of the plate. Carefully lift up the pan, resulting in the cake being on the plate and the steaming peaches being right-side-up.

IMG_4932.jpg

When you have a slice, best to have some vanilla ice cream on hand.

IMG_4945.jpg

Profiteroles

“The first thing I taste is the chocolate, and then the lavender, and then the texture of the pastry, and then the blackberry, and then the chocolate again” -Pieter, walking me through the bite-sized experience.

Woke up this Valentine’s Day with one thing on my mind: these, for some reason. It quickly became a whole day affair complete with a trip to the grocery store, ice storm be damned. Somehow the flavours of lavender, honey, chocolate, and blackberries began to make sense together, and I ended up eating seven of them all before my first meal of the day.

[If you prefer a more classic rendition, omit the lavender oil and hold the blackberries]

IMG_2567.jpg

Ingredients

  • 1/2 cup unsalted butter

  • 1 cup water

  • 2 tsp granulated sugar

  • 1/2 tsp salt

  • 1 cup + 2 tbsp all purpose flour

  • 4 eggs room temperature

  • 1 1/4 cup whipping cream

  • 1 pint blackberries

  • 1 tbsp confectioner’s sugar

  • 6 oz chocolate of choice

  • 3 tbsp unsalted butter

  • 1 tbsp honey

  • 2 drops lavender oil

  • 1/4 cup milk

Directions

Preheat oven to 425 degrees Fahrenheit. In a medium pot bring water, sugar, salt and butter to a boil, stirring occasionally.

IMG_2396.jpg
IMG_2409.jpg

Once boil begins, remove from heat and immediately mix in flour. A thick dough will form.

IMG_2414.jpg

Add eggs one by one, fully incorporating each before adding the next. Dough will become more like a paste and will fall off spoon in ribbons. This is called choux pastry.

IMG_2417.jpg
IMG_2439.jpg

Transfer pastry to a large ziploc bag (or if you’ve got a regular piping bag use that) and snip a centimeter-wide hole at the tip. Pipe 1-inch round mounds onto a parchment-lined baking sheet.

Dipping tip of finger into a bit of water, tap down the tips of each mound so that surfaces are smooth.

IMG_2443.jpg
IMG_2457.jpg
IMG_2452.jpg

Bake for 25 to 30 minutes, until tops are cracked and golden.

IMG_2482.jpg

When profiteroles are out of the oven, flip each roll over and use a paring knife to pierce a criss cross where the steam can escape, to facilitate cooling. The goal is that they should be hollow inside.

IMG_2492.jpg
IMG_2494.jpg

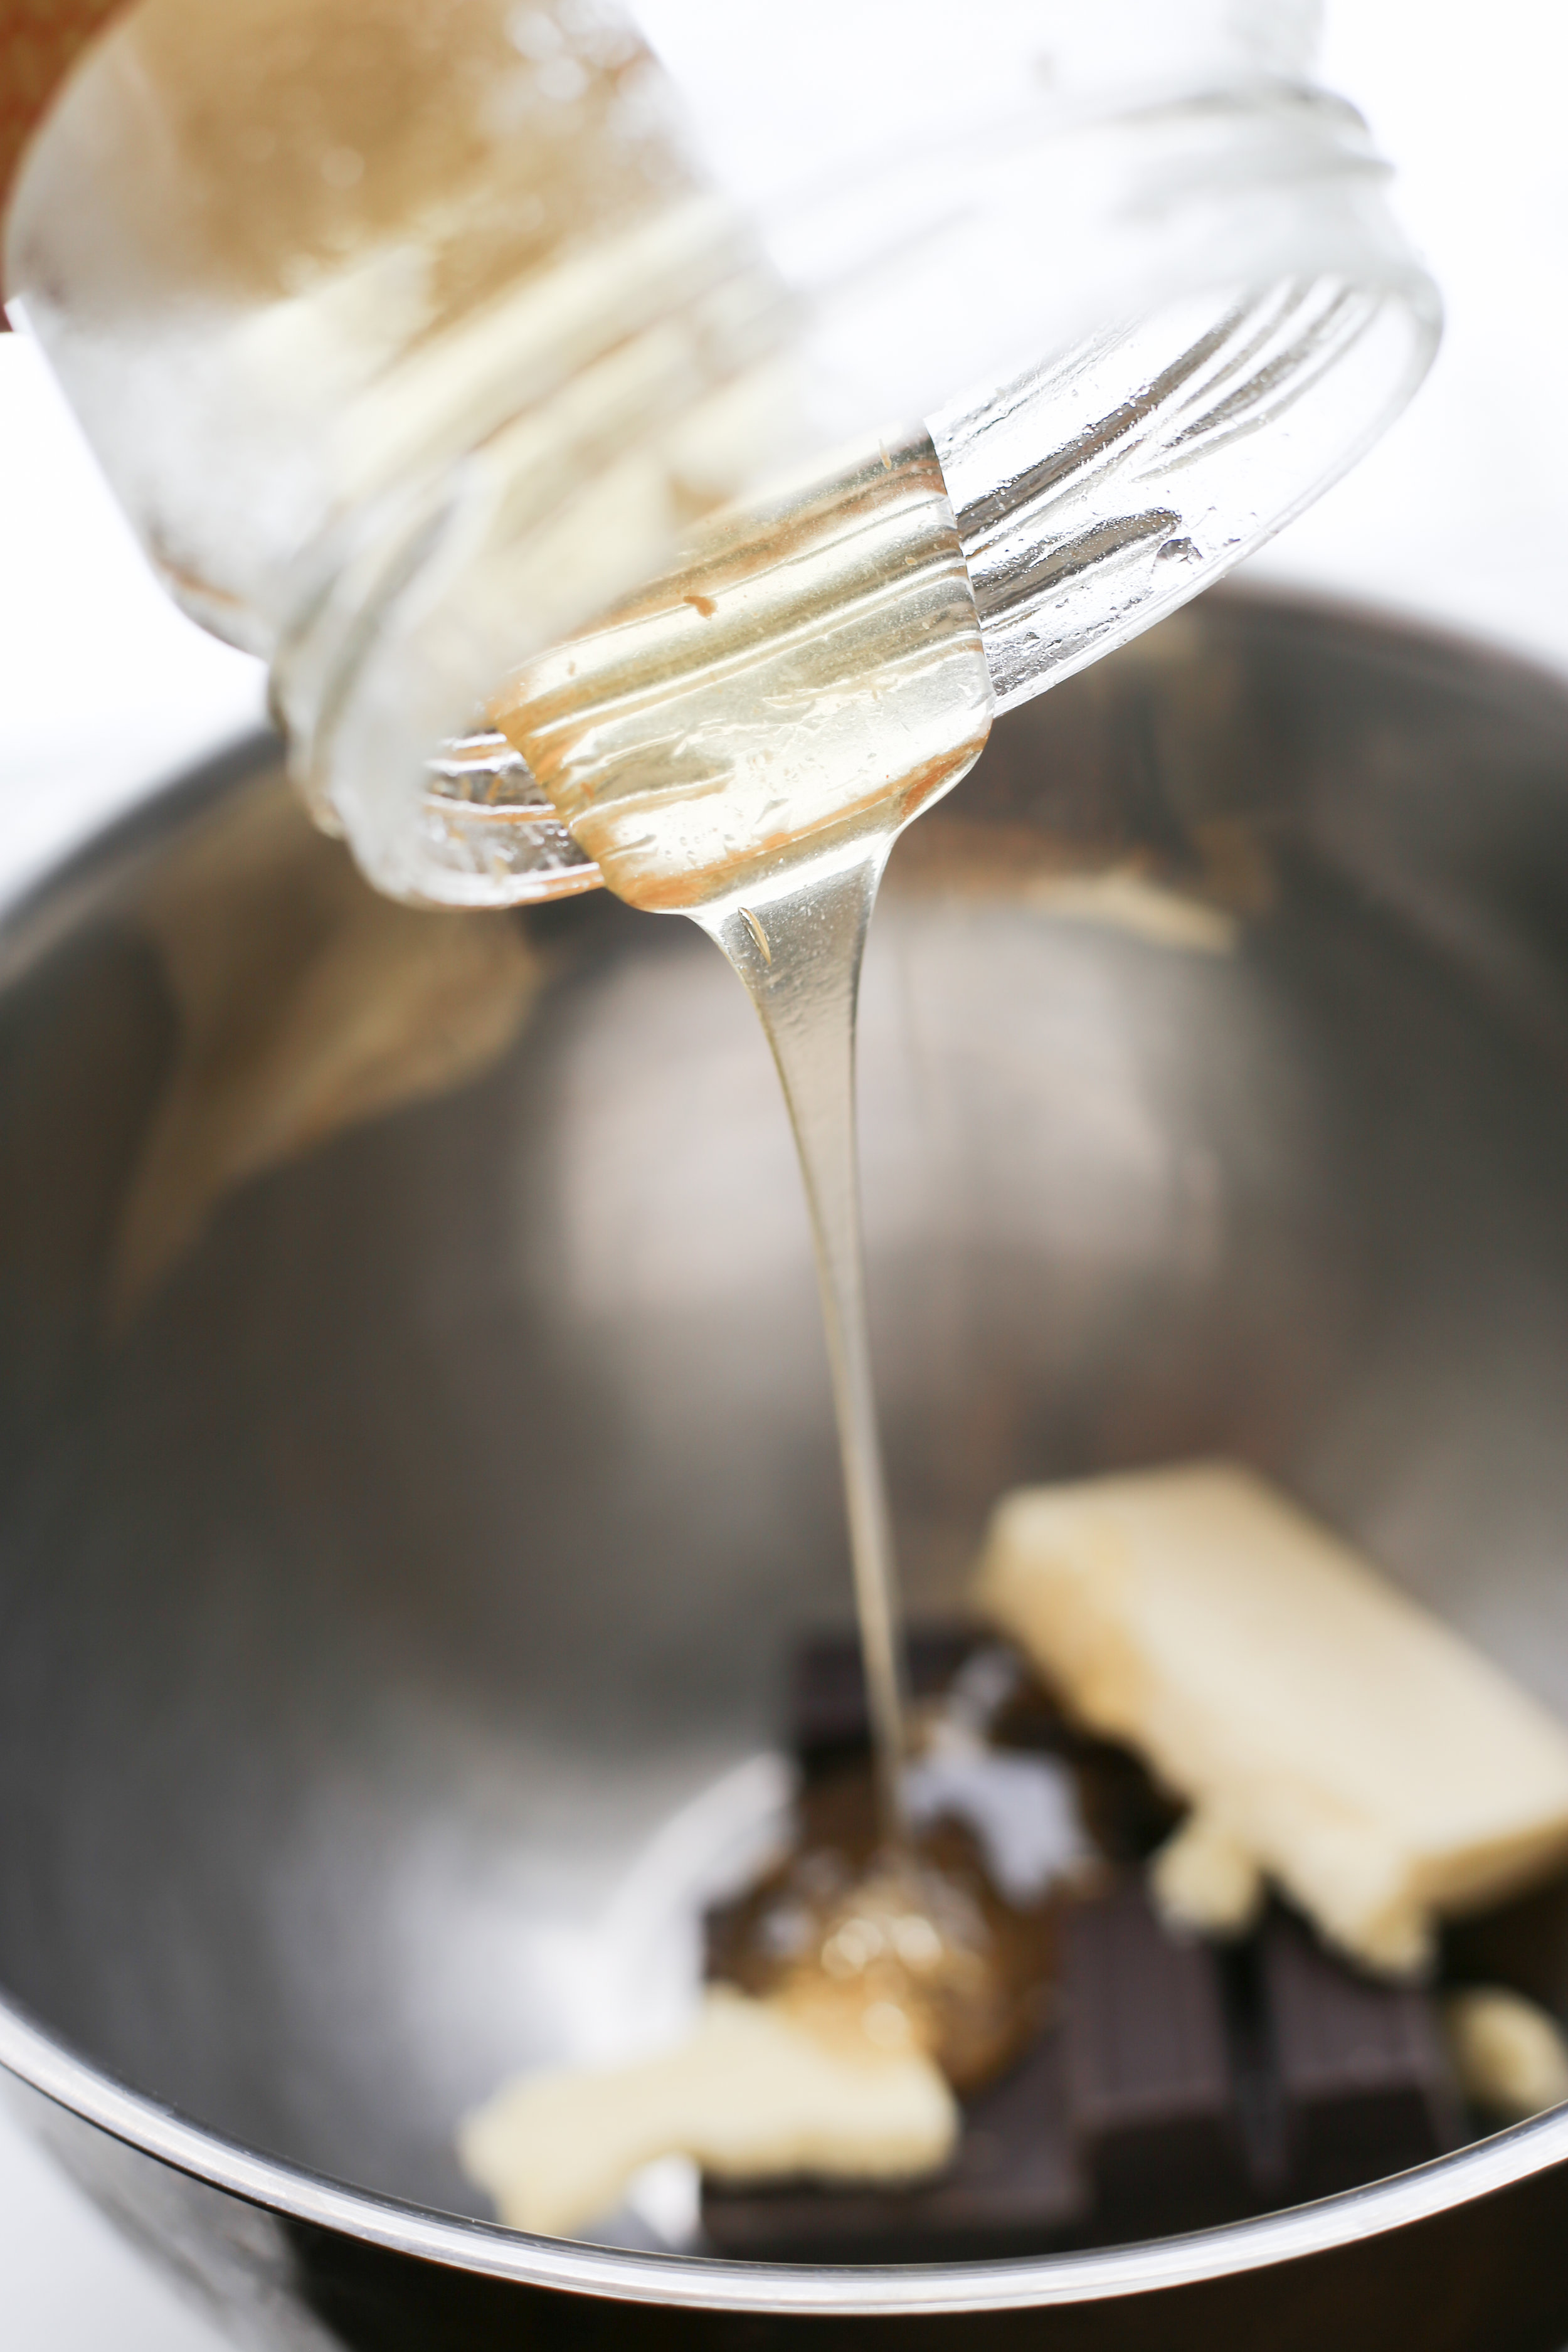
For the chocolate sauce, melt chocolate, butter and honey over a double boiler (place a heat-safe bowl over a pot filled with a few inches of water over medium heat). When fully melted, turn off heat and add 2 drops essential lavender oil (make sure it is fully pure so that it is safe to consume!) and gradually mix in milk. Transfer sauce into a little jar or pitcher of choice.

IMG_2461.jpg
IMG_2480.jpg

For the filling, chop up your blackberries into tiny pieces and toss them into an electric mixer with a whisk attachment. Add whipping cream and confectioner’s sugar, and whip on high speed until medium peaks form. Transfer into another piping bag.

IMG_2513.jpg
IMG_2506.jpg

Once profiteroles have fully cooled, insert tip of blackberry whipped cream piping bag into the criss cross, filling each profiterole until it starts to puff up.

IMG_2511.jpg

Keep chilled, and serve doused in chocolate sauce.

IMG_2587.jpg
IMG_2597.jpg
IMG_2552.jpg
IMG_2575.jpg

Pavlova

“Crushed it” -Laura

An airy crunch and a melty fluff of sweet eggy meringue, then the soft peaks of whipped cream and the tang of pomegranate. It’s a textural tango for your tastebuds and, for me, vividly brings to mind the scene from Ratatouille where Remy the rat experiences an out of body sensory/symphonic experience by combining a strawberry with a piece of cheese (for reference: https://www.youtube.com/watch?v=VXoJjgxMj9M ).

IMG_1892.jpg

Ingredients:

  • 4 egg whites

  • pinch of salt

  • 1/4 cup cold water

  • 1 1/4 cup white granulated sugar

  • 1 tbsp + 1 tsp corn starch

  • 1 tsp vinegar (white, apple cider, wine)

  • 1 tsp vanilla extract

Directions:

In an electric mixer using a whisk attachment, whip egg whites and salt on medium speed until soft peaks form. Add water and sugar bit by bit, increasing speed to full. The goal is to achieve stiff peaks, which will take several minutes. When stiff peaks are reached, reduce speed to low and incorporate corn starch, vinegar, and vanilla until just combined.

IMG_1752.jpg
IMG_1762.jpg

Line a large baking sheet with parchment paper. Using a medium sized dinner plate, lightly trace its circumference with a pencil. This will be your template.

Using a spatula, transfer the egg white mixture onto the parchment-lined baking sheet, spreading the mixture into the shape of the circle. Create a nest-like shape by forming a crater in the middle of the circle. This is where you will pile up all your fillings when cooked.

IMG_1764.jpg
IMG_1773.jpg
IMG_1775.jpg

When you are pleased with the shape of your egg white mound, bake at 300 degrees Fahrenheit for 30 minutes.

After 30 minutes, reduce heat to 275 Fahrenheit and bake for another 45 minutes.

Turn off heat and let cool for 1 hour in the oven. It is crucial to not open the oven door at any point during this process, as your pavlolva is delicate and will collapse with the temperature change.

While waiting, whip cream to soft peaks (I do not add sugar to the cream as the meringue is already sweet, but sweetness levels are subjective so it’s entirely up to you).

When finished cooling, remove from oven and fill nest with whipped cream. Pile on blueberries, raspberries and pomegranate seeds, or any combination of your favourite fruits. Serve in slices/piles and prepare for a messy table.

IMG_1816.jpg
IMG_1834.jpg
IMG_1866.jpg
IMG_1887.jpg

Chicken with Prunes

“Taste the liquid, it’s like syrup” -Me, handing a spoon to Pieter.

This is November in a bowl. You basically just toss everything into a big pot and let it simmer—the longer you leave it, the deeper the flavour. The chicken falls apart in strings and the prunes kind of just disintegrate and seep their sweetness throughout. Packed with spices and texture and caramel undertones, this dish warms you from within and makes you smile and leaves you wanting seconds and thirds and leftovers the next day.

IMG_1277.jpg

Ingredients:

  • 6-8 skinless & boneless chicken thighs

  • 1 eggplant

  • 2 zucchini

  • 2 yellow onions

  • 1 cup pitted prunes

  • 2 tbsp olive oil

  • 1 tsp ground cumin

  • 1 tsp ground coriander

  • 1 tsp ground cinnamon

  • 1 tsp black pepper

  • 1 tsp salt

  • 1 tsp ground turmeric

  • 1/2 tsp cayenne pepper

  • 1 cup brown rice

  • 1 litre chicken broth

  • 2 tbsp tomato paste

  • 1 bunch fresh parsley


Directions:

Dice eggplant and zucchini into 1/2” cubes.

Halve and thinly slice onions.

Halve prunes.

IMG_0795.jpg
IMG_0813.jpg
IMG_0876.jpg

In a large pot, heat oil and sear chicken thighs on both sides, seasoning with salt and pepper.

IMG_0889.jpg

Add onions and spices. Cook on medium low heat until onions begin to soften.

Add rice, broth, tomato paste and prunes. Bring to a boil, then reduce heat to low. Cover and let simmer for 15 minutes.

IMG_0893.jpg
IMG_0903.jpg

Add eggplant and zucchini. Cover and let simmer for another half hour to an hour, stirring occasionally. The longer you leave it to simmer, the deeper the flavours will be.

When done, rice will be cooked through, liquid will be syrupy sweet and chicken will fall apart.

IMG_1089.jpg

Serve a generous portion topped with fresh parsley.

Bowls will be scraped clean.

IMG_1308.jpg
IMG_1287.jpg
IMG_1355.jpg


Challah with Orange

“That’s really good Julie” -Courtney, a first-time taste-tester

Inspired by a mash-up of Melissa Clark and Deb Perelman’s takes on this leavened egg bread traditionally baked to celebrate the Jewish sabbath, this challah uses the zest and juice of an orange and generous swigs of olive oil. The result is a pillowy loaf of citrus memory foam and a kitchen that smells like a zesty breadbox. If you wish to omit the orange, just use water and hold the zest. Regardless, do not think twice about making this.


Ingredients

  • 1 orange, room temperature

  • 2 tsp lukewarm water

  • 2 1/2 tsp active dry yeast

  • 1 tbsp sugar

  • pinch of salt

  • 3 eggs + 1 egg for egg wash

  • 1/4 cup olive oil

  • 3 cups all purpose or bread flour

  • handful sesame seeds or poppy seeds


Directions

Zest and juice orange. Add yeast to orange juice until it foams, about 5 minutes. Must be room temperature! If the juice of the orange is too cold, the yeast will not activate.

Into the bowl of a mixer with a dough hook attachment (or just into a medium-sized bowl if you are kneading by hand) combine orange juice yeast liquid, orange zest, sugar, olive oil, eggs and salt. Add flour all at once if using a mixer, cup by cup if kneading by hand. Knead until a smooth, firm dough forms. Dough will be bright yellow, elastic and slightly sticky.

IMG_1174.jpg
IMG_1190.jpg
IMG_1177.jpg
IMG_1225.jpg

Knead by hand into a firm ball. Add a bit of olive oil to a medium bowl, roll dough ball in it, cover with dish cloth and let rise in a warm place for 1 hour or until doubled in size.

Press down dough to squish out all the air, cover, and let rise again for half an hour.

Line a large baking sheet with parchment paper.

To make a 6-strand brain, flatten out dough on a countertop surface and separate into 6 equal pieces. Roll each piece into a long strand about 3/4-inch thick. You can do a 3-strand braid for a simpler and equally delicious loaf.

Connect all 6 pieces by pinching them together at one end. Starting with the strand on the left, complete the following pattern: over, under, over, under, over. When initial strand has reached its destination on the right side, re-do the pattern with the strand that is now the furthest on the left. Repeat until loaf is formed, tucking loose ends underneath themselves.

IMG_1368.jpg
IMG_1374.jpg
IMG_1375.jpg
IMG_1376.jpg

Brush loaf with first coat of egg wash and let rise for 30 minutes.

Brush loaf with second coat of egg wash, making sure to get into the cracks of the braid. Sprinkle with sesame seeds, poppy seeds, both, or neither.

Bake at 350 degrees Fahrenheit for 35-40 minutes, or until top is dark amber and glossy.

Enjoy fresh out of the oven, smeared with salted butter, or use it the next day for French Toast by dunking a slice in some cinnamon brown sugar egg wash and a pan of sizzling butter.

Brownies

“Butter is key, and underbake” -Miina, brownie guru.

Woke up needing chocolate, so I dealt with it. I’m very particular with my brownie preference; the soft, cakey kind just isn’t what I need in life. I’m striving for the it-takes-a-full-2-seconds-to-bite-through-the-corner-piece-because-it’s-that-dense-and-chewy brownie. Based loosely off Miina’s long distance phone call tutorial from a Copenhagen supermarket this morning, this recipe checks all the boxes. When in doubt, underbake.


Ingredients

  • 1/3 block unsalted butter

  • 8 oz semi-sweet chocolate

  • 3 tbsp coconut oil

  • 1/2 cup granulated sugar

  • 1/2 cup brown sugar, loosely packed

  • 3 eggs, room temperature

  • 3/4 cup all-purpose flour

  • 1/4 cup cocoa powder

  • 1/4 tsp baking powder

  • 1/2 tsp salt


Directions

Set oven to 350 degrees Fahrenheit. Line a 9-inch pan with buttered parchment paper.

In a medium bowl, combine flour, baking powder, salt and cocoa powder.

Slice chocolate with a sharp knife into thin shards.

Over a double-boiler in a separate bowl (glass or metal is best) melt butter, chocolate, and oil until combined.

Remove from heat and whisk in both sugars.

Whisk in eggs, beating vigorously until a shiny and thick batter comes together.

Combine dry ingredients and wet ingredients in whichever bowl is bigger.

Pour batter into pan and swirl the surface with a spatula to distribute evenly into corners.

Bake for 25-30 minutes, or until edges appear cooked through. The goal is for the centre to be chewy rather than cakey, so underbaking is not a concern, rather a benefit.

Let cool before slicing into squares. If you are me, you will secretly devour prime real-estate corner pieces with a cold glass of milk and then proceed to selflessly offer the rest to the entire household.

Apple Tart

Unghm that’s frickin’ good” -Me, alone to my empty kitchen, on my second slice.

Karin and Pieter accidentally picked 50 pounds of organic apples so the goal of the past few weeks has been to use them up in any capacity. Hence; this tart. The thin slices give it a lighter feel than a classic pie, packing the same amount of flavour from the spices and the slightly sour skins. And, I mean. It’s just so pretty.

IMG_0342.jpg

Ingredients

  • pie crust (refer to the step-by-step process here)

  • 1 tbsp flour of any kind

  • 5 of the brightest, crunchiest apples you’ve got

  • 1 tbsp ground cinnamon

  • 1 tsp ground nutmeg

  • 1 tsp ground cloves

  • 3 tbsp granulated sugar

  • 1 tbsp butter, melted


IMG_0230.jpg

For the crust:

Roll out your pie dough into a large 1/8” thick circle. Place base of tart tin onto surface of crust, cutting the dough to its shape. Place dough circle in base of pie tin, and use the surrounding scraps to fill in the sides of the tin. Trim excess overhanging dough with a sharp knife, slicing straight across horizontally where the dough meets the top of the tin.

Using a fork, pierce the base of the crust in multiple locations. This will keep the crust from puffing up while baking, allowing for air and heat to circulate.

IMG_0237.jpg

Fill base of crust with a thin layer of flour and a sprinkling of sugar. This will soak up some of the moisture and flavours from the apples released while baking.

IMG_0249.jpg

For the filling:

Cut your apples in half, removing cores. Slice into very thin, 3mm slices. (If you have a mandolin, this would be a good time to use it for more uniform and less time-consuming slicing).

IMG_0227.jpg

Toss the apple slices very gently with spices and sugar.

IMG_0253.jpg
IMG_0260.jpg

Starting from the outer-edge of the crust, arrange apples in a spiral formation, resembling the petals of a rose. Each slice should overlap the previous by about half. Continue with this technique, working inwards until you have filled the whole tart shell.

IMG_0271.jpg

Brush the apples with melted butter, and sprinkle with sugar.

IMG_0287.jpg
IMG_0319.jpg
IMG_0321.jpg

Bake for 45 minutes at 400 degrees Fahrenheit, or until crust and apples are golden.

IMG_0341.jpg
IMG_0359.jpg
IMG_0388.jpg

Plum Galette

“Let’s drizzle some maple syrup on top” -Karin, the visionary.

End of September, to me, means teensy purple plums. This is the first galette I’ve ever made and I can’t wait to make more— The chameleon of pastry can be made with fruit, can be made savoury (vine tomatoes? goat’s cheese? mushrooms?) and even holds its shape beautifully when made with gluten free flour. So easy, so delightful, and best consumed in one sitting.


Ingredients

Crust:

  • 8 tbsp unsalted butter, cold and cut into inch-sized chunks

  • 1 cup unbleached all-purpose flour

  • 1/4 cup almond flour

  • pinch of salt

  • 2 tbsp ice water

  • Egg wash (1 egg + 1 tbsp water)

Filling:

  • 1 quart teensy purple plums

  • 1 tsp cinnamon

  • 1 tsp nutmeg

  • 1 tsp ground cloves

  • 1/2 inch fresh ginger, grated

  • 2 tbsp granulated sugar


Directions

The crust: Combine flour, almond flour and salt in a food processor. Pulse until combined. Add butter and pulse until pea-sized chunks form. Bit by bit, add ice water while pulsing until a clumpy dough just holds together. Push into a mound on a countertop, wrap in cling film or aluminum foil, refrigerate.

The filling: Halve plums and remove pits. Add spices, ginger and sugar. Mix.

Set oven to 400 degrees Fahrenheit.

Remove crust from fridge and roll out onto parchment paper into a large circle until ~1/8 inch thick. Toss flour of your choice onto surface of crust. This will help to soak up some of the juices from the cooked plums.

Fill center of crust with plum mixture. Fold up edges of crust, creating a rustic circular shape surrounding the plum filling. Brush edges with egg wash and sprinkle with granulated sugar.

Bake in 400 degree oven for 40 minutes.

Crust will be toasty and amber-coloured, and plums will be bright.

Delightful consumed with coffee, mid-afternoon. Who am I kidding; delightful anytime, with any beverage.

Quick Dill Pickles

“Oh! They’re so good! Instant pickles!” -Karin, eyes wide, taste-testing a slice this morning.

These cukes were too cute to pass up and the market vendor, approving of my culinary venture, gave me a free bunch of flowering dill. As a first timer to the pickling process, I am pleased to report that it was simple, satisfying, and just a delightful way to spend the first day of Fall.


Ingredients

  • 10 tiny cucumbers

  • 1/4 bunch or ~10 sprigs flowering dill

  • 6 cloves garlic, peeled and smashed

  • 1 tbsp black peppercorns

  • 2 cups white vinegar

  • 2 cups water

  • 2 tbsp salt (I used pink Himalayan— while pickling salt is recommended to avoid discolouration, I found that they turn out just fine with any other salt).

  • 1 tsp granulated sugar


Directions

Find three medium-sized jars with matching lids and submerge them in a big pot filled with water, turning off the heat when it reaches a boil. This sanitizes your pickle vessels, allowing for a safe and clean final product.

In a separate saucepan, bring vinegar, water, salt and sugar to a boil, then remove from heat.

Remove glass jars carefully from hot water (I found that pouring out all the liquid from the pot and then removing the jars with oven mitts worked nicely). Place them on a wooden cutting board or dishcloth—avoid sudden temperature changes such as cold marble or metal.

Divide garlic cloves, peppercorns and dill equally into the jars.

Cut off both ends of cukes and slice lengthwise into quarters.

Fill each jar with as many cukes can fit snugly. Top off each jar with the boiled vinegar liquid, leaving about an inch and a half to spare or until cukes are submerged.

Screw on the lids and bring jars to a gentle boil in a big pot of water for 10 minutes. This will seal the jars up and also result in some exciting pickle-y colour changes.

(The aforementioned sanitization/canning process isn’t entirely necessary if you’re going for a quick pickle that you will consume within weeks— it’s mostly for longer-term preservation, like snacking on a pickle in 2020—but I had the time so I gave it a go).